A Step-By-Step Guide to Installing a Complete Truck Cab Kit
"A
solid repair starts with the right tools."
Whether
you're a seasoned mechanic or just getting your feet wet in the transportation
industry, installing a complete truck cab can seem like an intimidating
job. From removing old panels and insulation to mounting new trim pieces, it's
a multi-step process that requires the right tools and materials.
This
comprehensive guide will walk you through the step-by-step process of
installing a complete truck cab kit.
We'll cover everything from preparing your work area to finishing touches. By
following these best practices, you can feel confident in your repair skills
and deliver top-notch results for your customers.

Gather Your Materials
The
first step is making sure you have all the necessary components for
the job. This includes:
- A quality complete
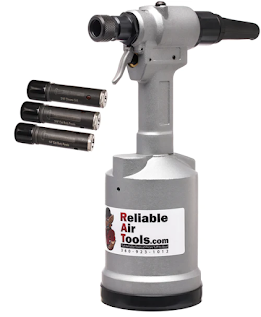
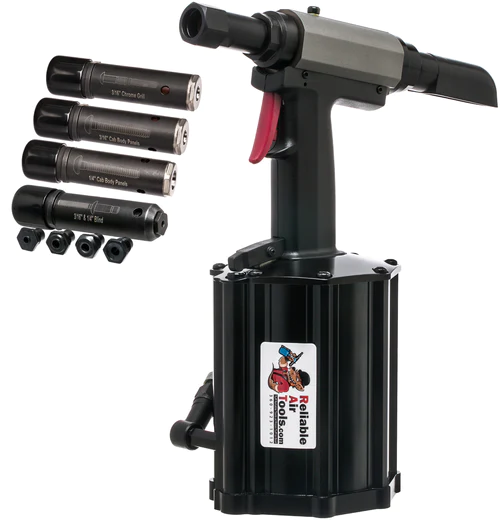
truck cab kit like the Gage Bilt GB722 from Reliable Air Tools
- A reliable lock bolt
tool such as the RAT640 or Milwuakee
- Personal protective equipment
(gloves, goggles, etc.)
- Insulation, panels, brackets,
and other pieces included in your kit
It's
also a good idea to have extra consumables like lock bolts, rivets, and
lubricant on hand. Ensure your pneumatic huck gun is
inspected and functioning properly, too.
Prepare the Work Area
Clear
a clean, well-lit space large enough to lay out panels flat. Cover the floor
with drop cloths to contain debris. Remove any existing trim, insulation
and hardware from the truck cab using your lock bolt tool. Thoroughly
clean and inspect the cab frame. Make notes of any repairs needed before
proceeding.

Install Insulation and Sound Deadener
Starting
from the floor up, adhere insulation to the truck cab using adhesive prompted
in your kit. Apply sound deadener for additional noise reduction following
manufacturer instructions. Cut insulation as needed with a utility knife.
Attach the Outer Skin
Position
the outer panels onto the cab frame and temporarily hold them in place. Working
from the bottom up, fasten panels using your pneumatic huck gun and the appropriate fasteners provided - usually
lock bolts or flush rivets. Apply consistent, medium pressure as you trigger
the tool.
Install Internal Bracing and
Supports
Reinforce
the cab structure using internal framing brackets, seat mounts and other
bracing included. Secure with lock bolts or rivets according to kit
instructions. Double check all fastener connections are fully set
before moving to the next step.
Mount Trims and Accessories
Glide
rubber or vinyl trims into tracks on doors, walls, and other exterior areas as
indicated. Use adhesive to stick on smaller decorative pieces like logos or
labels. Finally, hardware like door hinges, mirrors, and grab handles
should be installed.

Quality Control and Finishing Touches
Give your
work a once-over for gaps, fit issues, or missing/loose fasteners before
moving the vehicle. Apply trim sealant where needed to seal edges. Clean
and dress any scratches using touch-up paint. Step back and admire your
handiwork! Finally, remove drop cloths and tidy your workspace.
The Wrap
With
the right materials, preparation, and attention to detail, installing
a complete truck cab kit is within
reach of both casual hobbyists and seasoned professionals. For high-quality
tools essential to the job, like the Gage Bilt GB722 kit paired with a reliable Mark
Tool RAT640 huck gun, visit Reliable Air Tools online. They've been
supplying the transportation industry with repair solutions for over 25
years.

Comments
Post a Comment